

Last month we celebrated Savannah’s second birthday with a Rock n Roll Themed Party!
Savannah LOVES The Fresh Beat Band and her favorite saying is “Microphone Check” so the theme just seemed to work. We had 50 people there 14 of which were kids under the age of 5! Lets just say things got a little cray cray.
I searched etsy for DAYS trying to find a printable party package that met my criteria…
- Was for girls (and NOT all leopard print, neon and sparkles)
- Was appropriate for a 2 year old (apparently rock-n-roll is not a common theme for 2 year olds? What the Heck?
- One that had all the DIY party essentials; juice wrappers, cupcake toppers, straw wrappers, napkin wrappers, banners, gift bag toppers…etc.
And after hours of searching (seriously) I found exactly what i wanted at the {Celebration shoppe on Etsy}. If you’re willing to put in the work to; print, cut and assemble….all the little extra’s really do pull the party together – just be prepared…it is VERY time consuming !!!

We had blow up guitars & microphones, wigs and sunglasses for dressing up!

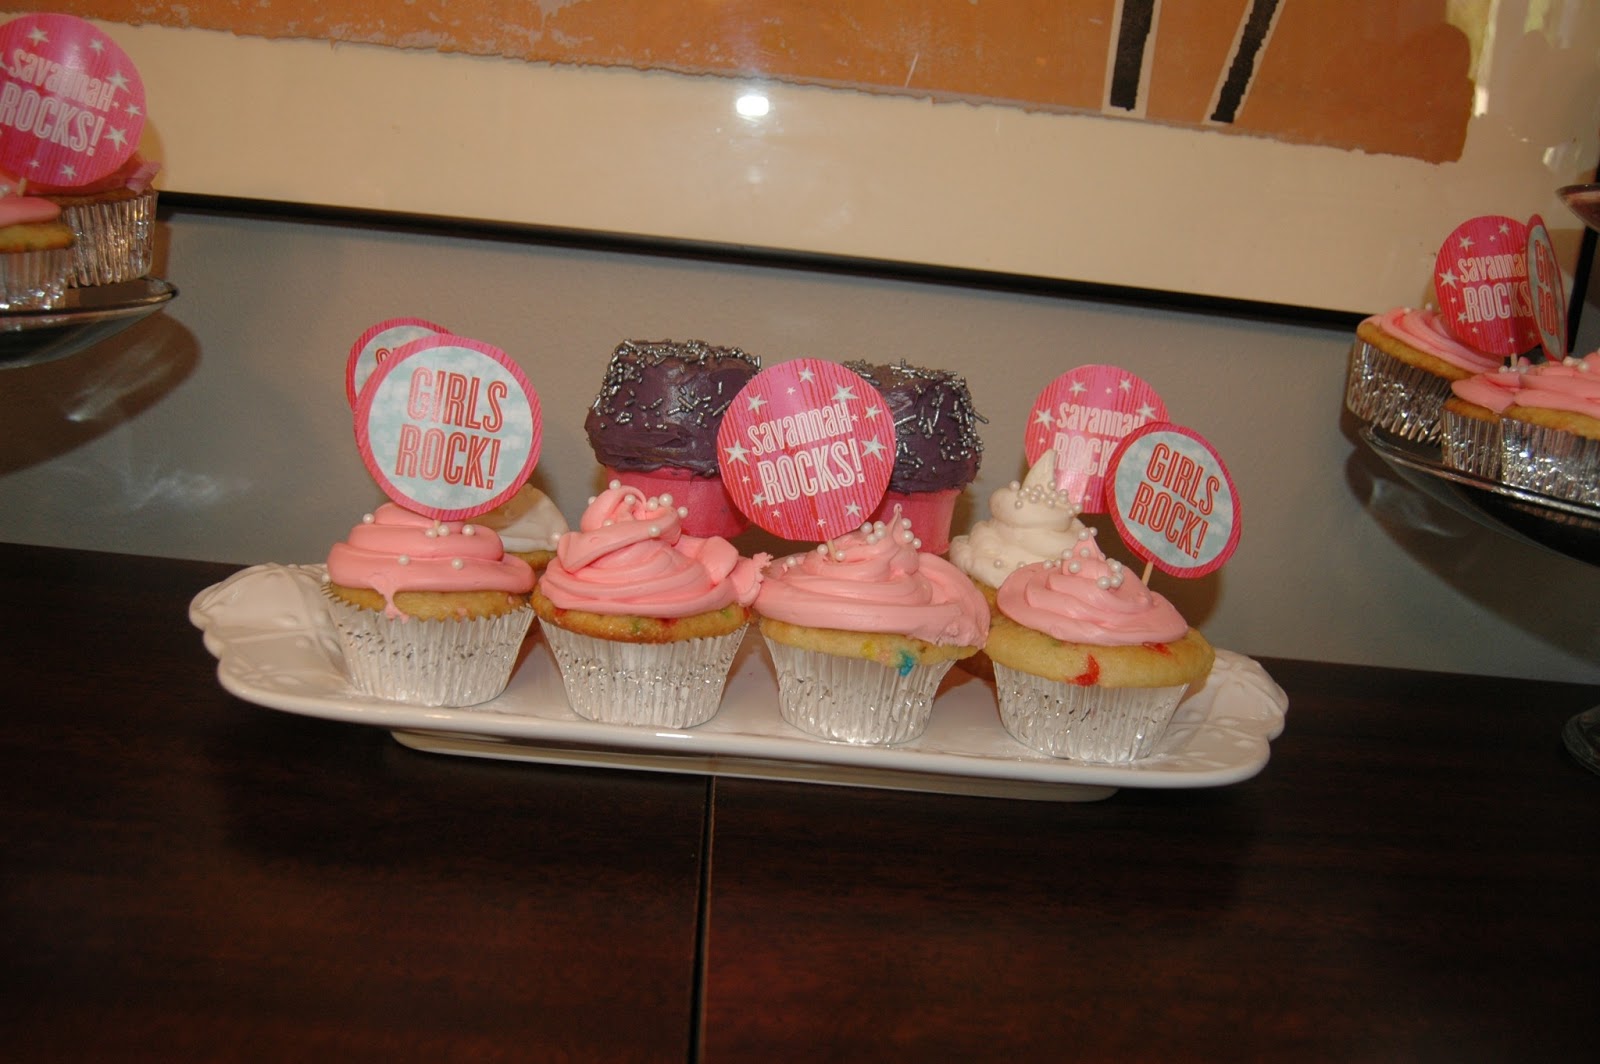
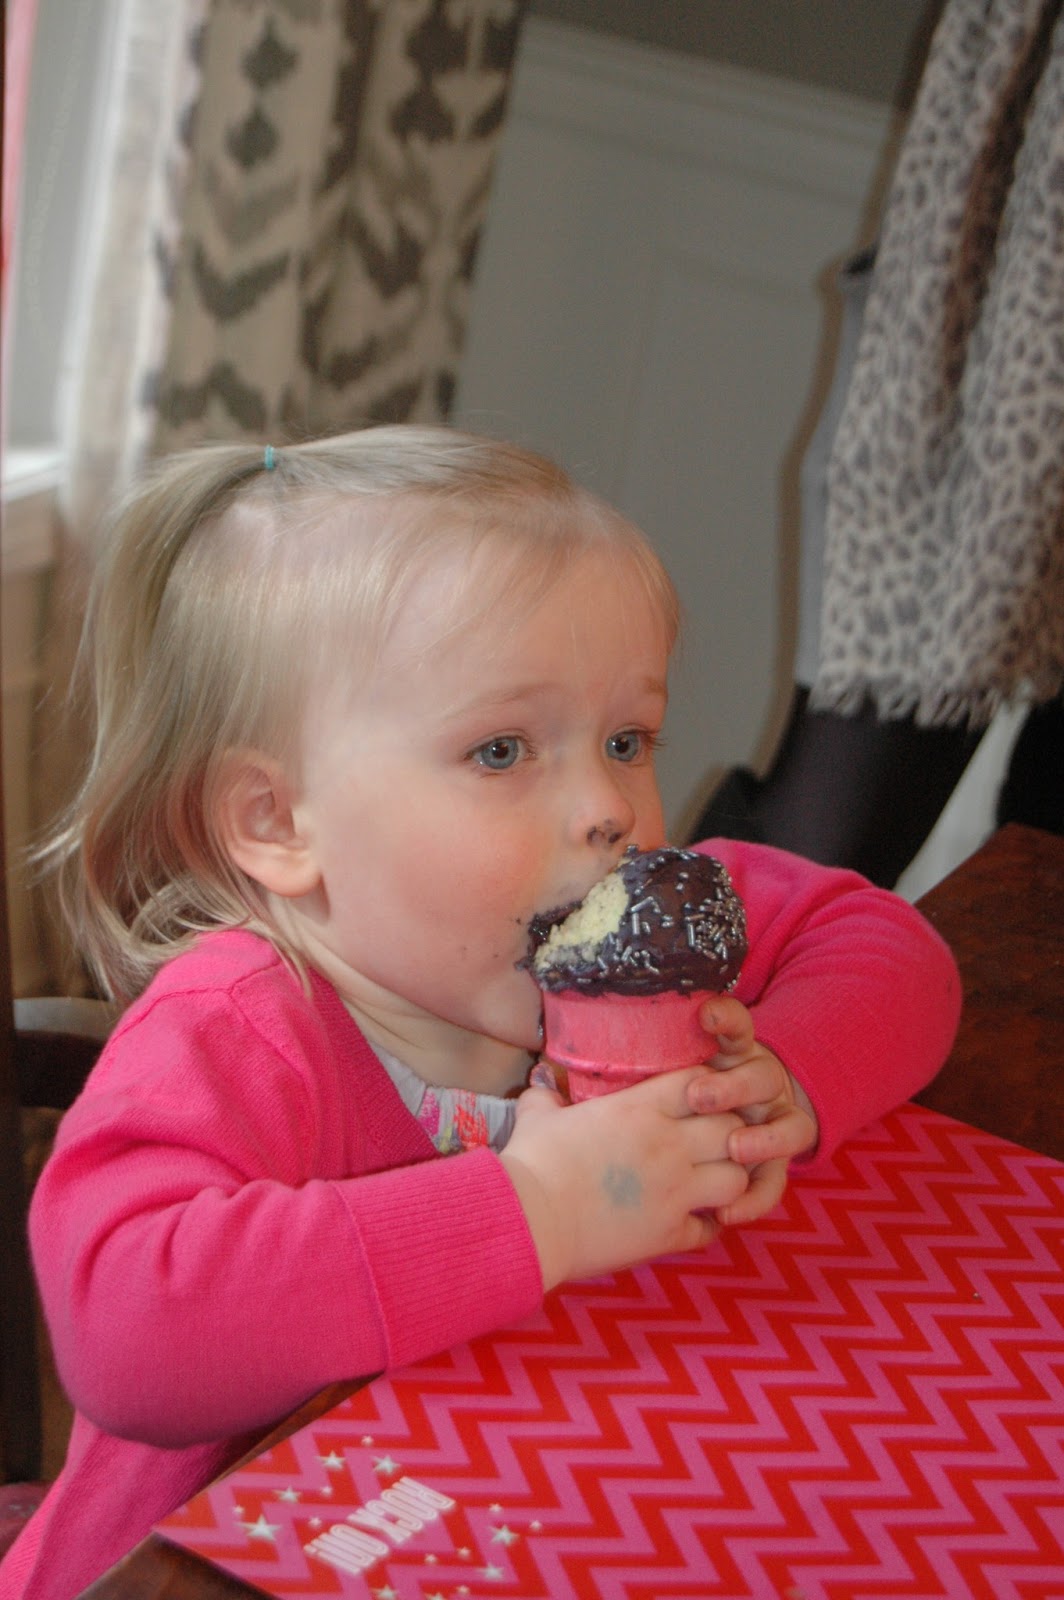
And of course Microphone Cupcakes!


The Kiddos loved these and they were incredibly easy to make.
Microphone Cupcakes – What you need
- Cupcake Mix (I used funfetti – obviously because its amazing)
- White Frosting (store bought will bond better than homemade)
- Ice cream cones
- Food coloring (Found black coloring at Ben Franklin)
- Sprinkles (Found silver large sized sprinkles at Ben Franklin)
How to Make Microphones Cupcakes
- Make cupcakes (slightly under fill to make sure they are not top heavy and fit nicely on the cones).
- Build a makeshift holder for cupcake cones (they can get a little top heavy) – take an empty cone box and lay on it’s back. Then make “X’s” on the surface I did 3 across and 3 down. Make sure the X is wide enough for the cone to fit in.
- When cupcakes are cooled enough to handle peel off wrappers and allow to cool fully before frosting them. The frosting will not bond if they are warm at all!
- Mix food coloring into the frosting and stir well.
- Take a cone and put a layer of frosting around the top and slightly down the neck of the cone. This is the bonding agent for the cupcake. Place cupcake top side down on the cone. Once it is secured frost all over.
- Now Sprinkle and place snugly into the makeshift holder until you are ready to set them out for the party.
The kids loved these soo much, they are messy but TOTALLY worth it!
All in all the party was so fun and as soon as everyone left Savannah said “I want to do it again!”. Right now the bouncy house place is sounding really good…but I do love a good project so who knows..we may go big next year too!