A few weeks ago I posted about our master bedroom and provided some plans for a major overhaul! So before we left for Hawaii I got crack-a-lackin on The new plan…I’ve already Painted the Trim and Doors and replaced hinges and handles.
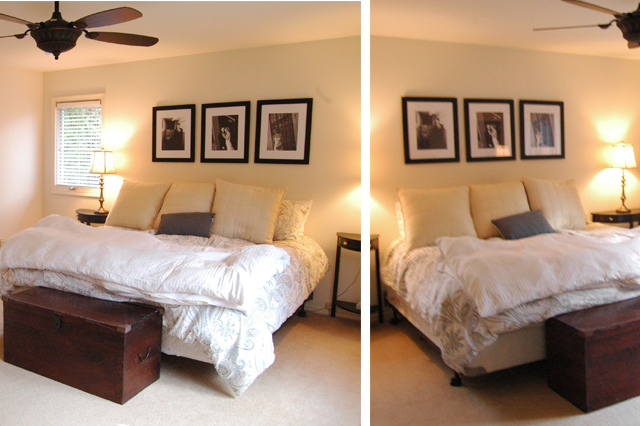
Here is shot of the master bedroom before….so BORING!

The room is screaming for color, symmetry and something eye catching and I really want to make the wall behind the bed POP! I toyed with the idea of Board and Batten…it’s so hot right now…but this trend just doesn’t mix well with our current wall and window molding or with the crown molding that i plan to add. So I went with the tried and true…traditional Picture Frame Wainscoting.
If you remember I have done this project once before on our first floor..
Fancy Pantsy {DIY} Wainscoting
The project is simple but it takes time because things need to dry..so I‘m sharing this project in multiple posts. Why you might ask? Well, people ask me regularly “how do you have the time to do these projects”…don’t be fooled I’m a mom, I work part time and manage our house. I’m a busy lady! It’s easy to post a project and give the perception that I snapped of my fingers and projects are complete! So not the case and my goal is to show that DIY is manageable if you plan, organize and find small moments to complete a big project.
So in the spirit of keeping things authentic…I’ll break the project into a few posts and share one final reveal.
Tools for Wainscoting:
- Picture Frame Molding – I found mine at Home Depot it is 3/4 of an inch thick. I got real wood vs MDF (more expensive but better quality)
- Zinnser Primer – I suggest priming the molding before you nail them in
- {Power Grip}– to adhere molding to wall before you nail it. Home depot in Caulking section
- Pneumatic Brad Nailer & Nails – or a powerful nailgun
- Miter Saw – or saw that allows for angle cuts on a 45 degree angle
- {Framing Square} – to make sure your boxes are square!
- A level
- A rag to wipe up excess power grip glue as needed
- Paint-able caulk and a quality caulking gun – all from home depot
- {These caulking tools} – LOVE THEM!
- A Nail set & hammer – to pound in nail heads so they are under the level of wood
- Light weight wall putty– to fill in nail holes after they have been set
- Your PAINT!
How To create Full Wall Wainscoting || Part 1
1) Mark & Measure: literally draft up what you want the wainscoting to look like. First I made a quick spread sheet in excel to calculate. I knew I wanted 4 boxes across the wall and I wanted to replicate the size/shape of the window on the left….remember my whole goal here is to create symmetry. Then I take my yard stick, a level and pencil to mark up the wall and draw reference points for the wood. From this you will get the measurements of how much molding you will need to buy! I got mine from Home Depot.

2) Cut Wood: measure and cut on a 45 degree angle. Make sure to remember which side of the wood you want on the inside or outside of the box and always cut in the same fashion. I prefer the thicker part of the molding to be on the outside of the box.

3) Bond and Nail: This is the fun part…where you get to see your project transform the room! Start by building your square in stages. Every piece of wood will need a stripe of Power Grip Adhesive. First set the top piece…use your level to make sure it is even, then nail across. Next, take your left piece and your square to ensure a 90 degree angle then nail top and middle (leave bottom un-nailed for the time being). Move to the right piece and repeat the previous step. Add the bottom piece, use level and square again, then nail across bottom and bottom and add the final nails to the side pieces…spot check everything is secured. Don’t forget to use a rag to wipe off any excess bonding agent.

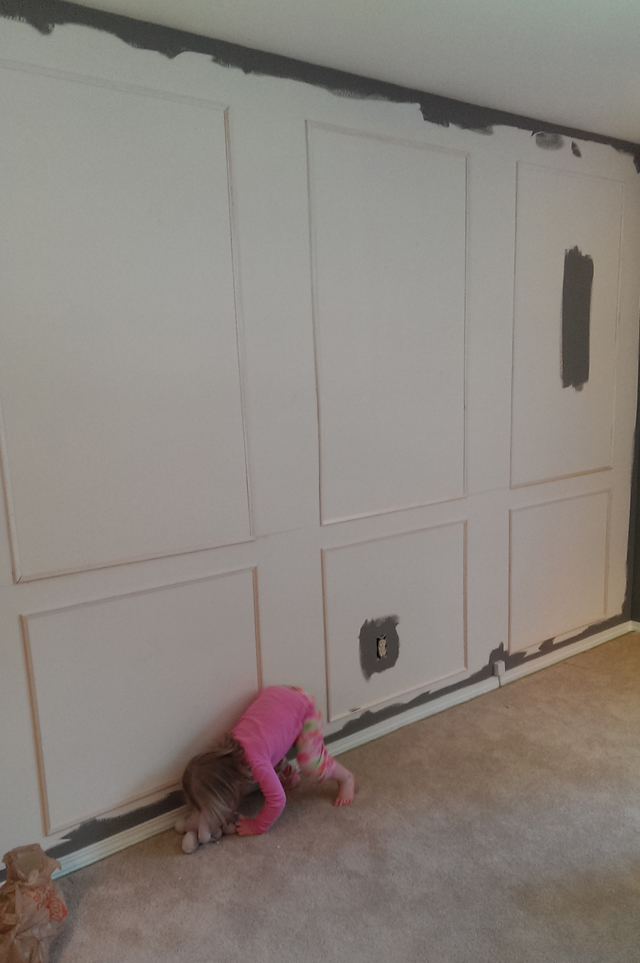
I think my Dad would agree that it was hard not to be motivated with Savannah cheering us on in the background…”Go Mommy Go” and “Go Grandpa Go!”
Full Wall Wainscoting || Part 1 took about 4 hours to complete: 1 hour of measuring and marking, 1 hour of cutting and 2 hours of applying the molding.

Now step back, enjoy and do celebration somersaults like Savannah!
Now back to the finishing touches…more on that later this week…hope you guys enjoy and I am so excited to show how this project is Transforming the Room!
