
And so it Begins! The Den is officially getting some werk done and there isn’t one moment that goes by that I’m not second guessing myself, super stressing about my ability to knock this project out of the park, or just plain giddy that this room should and will eventually look amazeballs.
So to remind all of you, here is the money shot of the totally ambitious and photo-shopped Den Upgrade Idea…

and here is the starting point…

So getting down to business…Andy and I have officially completed the first step of the Den Upgrade project and that is Hanging Drywall over the Brick. To start I was crazy stressed about this part of the project and I have to admit…it was surprisingly easy and will be the lest expensive portion of the project!
So here is a quick re-cap /tutorial…
How to Dry-walling over a Brick Fireplace:
Just a hint…there is only 3 parts to this project! Prep, adding Furring Strips (also known as wood), and adding Drywall!
For the Prep Work…we removed molding and the oh so random scraps of carpet!

Andy removed the fireplace insert..talk about a dirty job!

Then Andy cleaned, I cleaned and I still have one more round of cleaning! So dirty and so painful I seriously had to channel my inner Cinderella to get this one done! I’m currently using a wire brush and blue dawn…if it’s good enough for oils spills I can only hope it will get the job done here! I have to get this brick spick and span for the future tile laying!

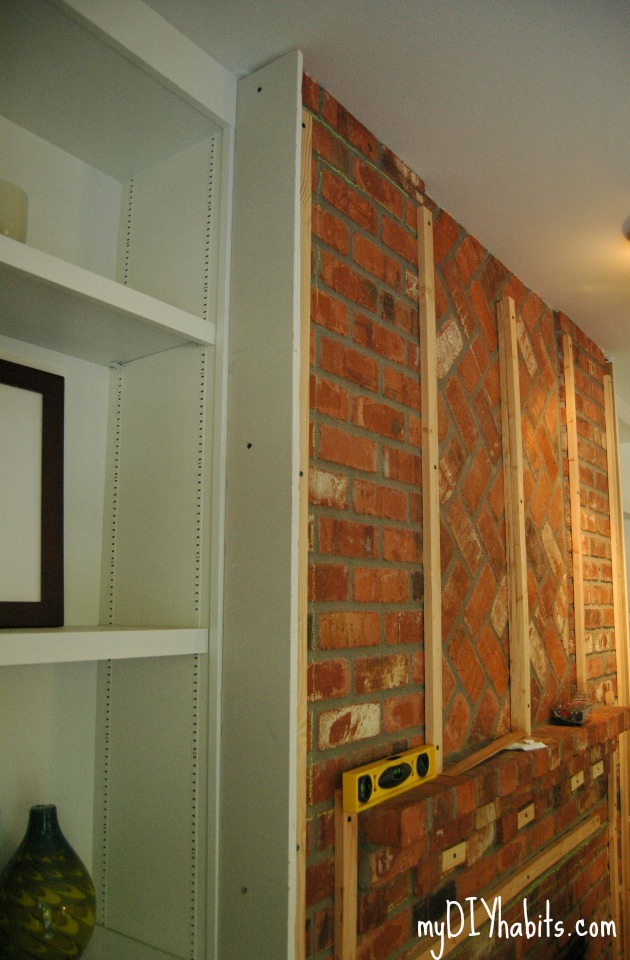
Next we added the furring strips (which are actually just 1×2 pieces of wood) I used these concrete anchor nails which are awesome. The package of screws comes with a masonry drill bit too…totally awesome!

Sorry for the booty shot…Andy is still working on his photo taking skills!
From the picture you can see we framed the fireplace and placed stripes 16 inches apart. I also added a wood strip across the top, it’s just not in this picture.

Next up comes the Dry Wall!
Special Tip: 2 sheets of drywall do not fit in a Mid sized SUV.
That was pretty comical…it took me and 2 car loaders to figure this out and in the end we just cut the sheets in half! Then after the drywall debacle I drove across the parking lot with a bunch of stuff on the roof of my car…I’m a Total Hot Mess.
Adding the dry wall is very simple…measure, make sure everything is square and use a sharp blade to cut. Flip over and the drywall breaks very clean for you.
For the sides of the fireplace I just used construction adhesive (my favorite Locitite Power Grip) and glued straght to the brick, secured with concrete screws.
Then I started adding my drywall securing with Drywall screws.
And here we have the final product!
Here is a quick breakdown of the next steps to take in the project
1) Putty, tape and add corner bead to make this baby seamless!
2) Tile over the remaining Brick
3) Build a Mantel
4) Wood Working (columns, accent molding, crown molding) make this fantsy pantsy!
Then after all is finished here I’ll get cracking on upgrading the built-ins with cabinets and lighting!!!