Sorry for the PM post today…but finding time to DYI and blog has been a little tricky over here in the Cole household. Good news is that this week Savannah decided she is a big girl now and she only sleeps in her big girl bed! Hooray for her confidence and I’m pleased that I never had to force this transition, but I’ll be honest I have had to “guide” her back into bed a handful of times which most certainly bit into mommy time!
But today…I’m back with Part 2 of the Full Wall Wainscoting Project…if you missed Part 1 check it out here.
So here is where we left off…
Full Wall Wainscoting || Part 1
1) Mark & Measure
2) Cut Wood
3) Bond and Nail
click here for images, project recap & tools needed
Full Wall Wainscoting || Part 2
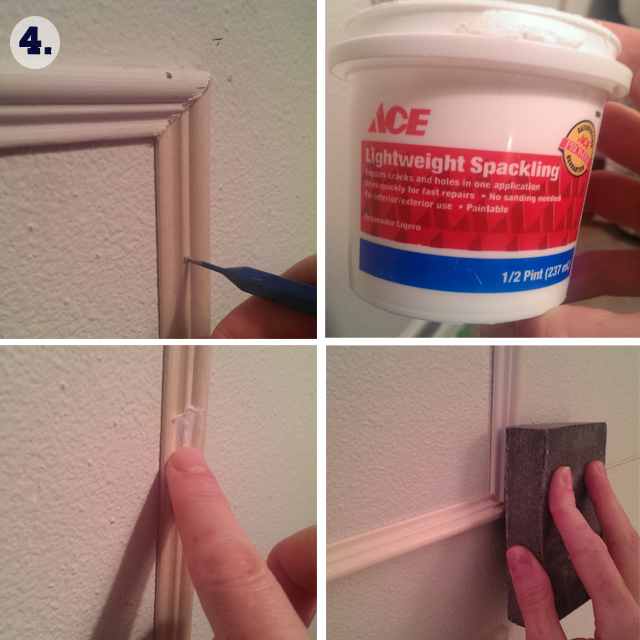
4) Set Nails, Fill holes & Sand: This part is very self explanitory….literally set the nails (hammer and nail set), fill the holes with a lightweight spackle and sand.

5) Caulking: For best caulking results I think a high quality gun it key. I used a paintable caulk for interior/wood use and took care to cut the tip on an angle (I think it helps with application). For this job, I always have a garbage bag and a roll of paper towels near by…you will wipe off a lot of excess {here are my favorite caulking accessories}. This job can get messy!

Next week I hope to share a big reveal! I have a ton of priming and painting to do this weekend!
Once more here are the links to…
Full Wall Wainscoting || Part 1
and
