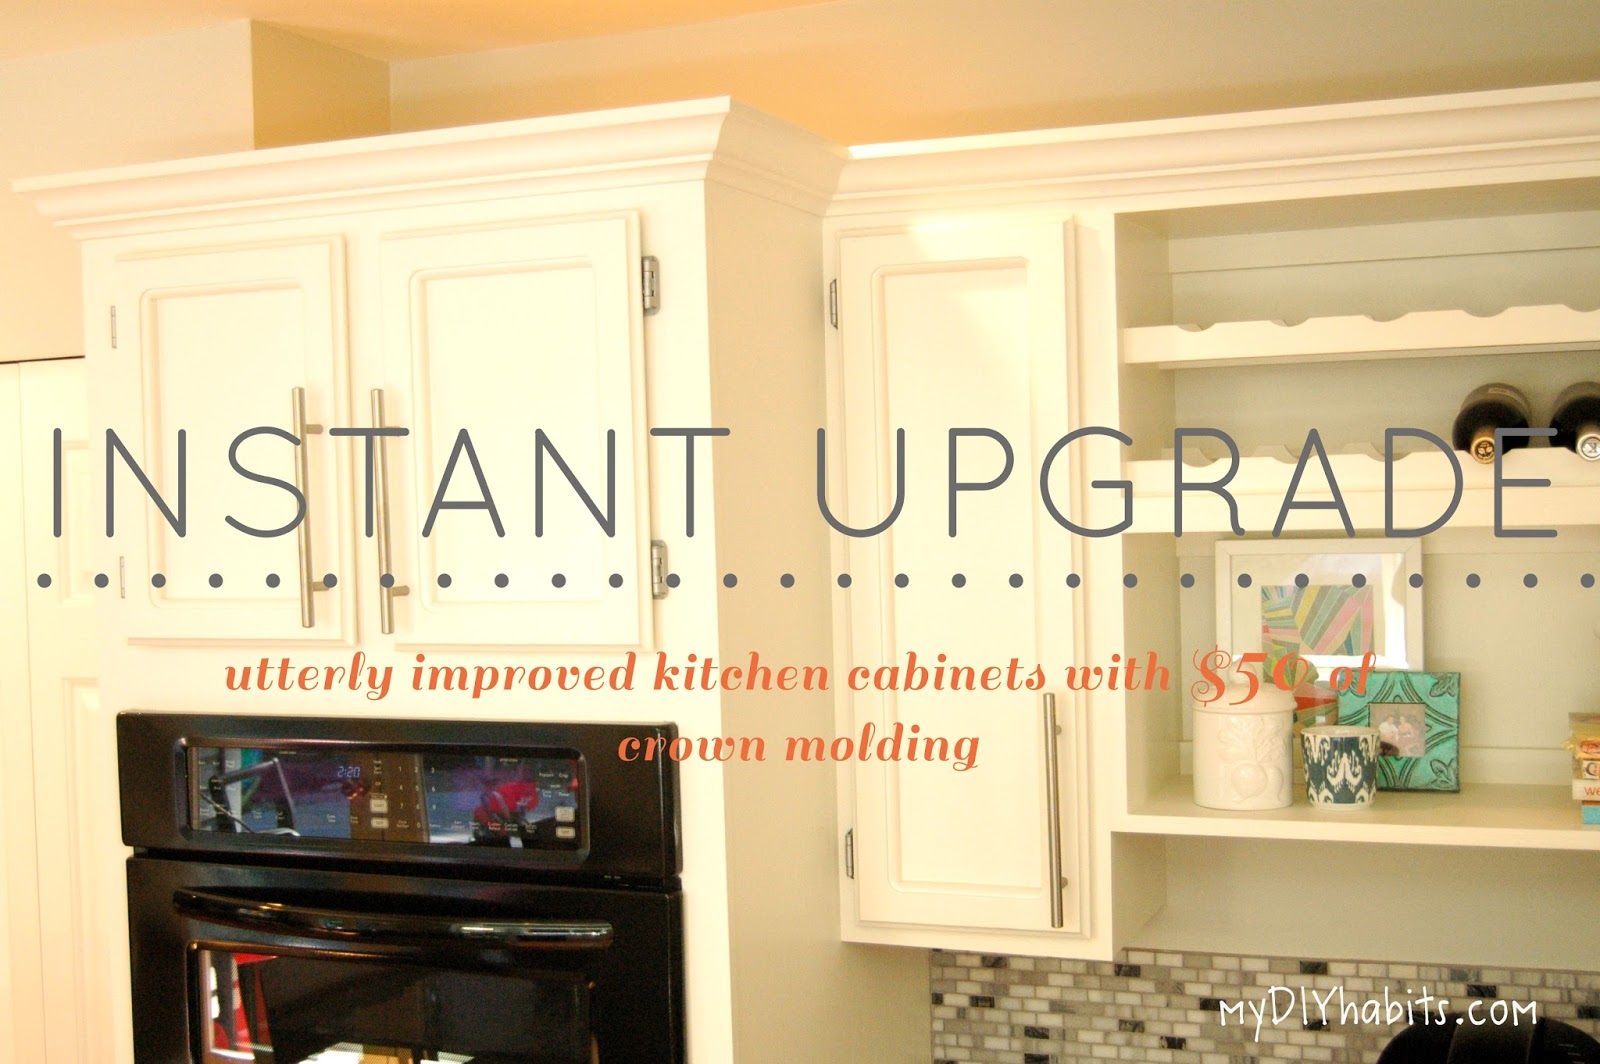
Way back when I started this little ole blog…I posted about our Kitchen Renovation. And months later there hasn’t been a single thing I would change about the work that we did…I still love my painted cabinets, the mosaic marble is my BFF and my HUGE sink is well…the bomb. But I did however feel like there was one thing missing and that thing was a touch of grandeur and sophistication. I’ve always loved the idea of adding soffits and crown molding to the cabinets but the need to move some unfortunately places recess lights really killed that plan. There is one light that desperately needs to be relocated if I ever want my soffits. So I added this light to the long list of electrical work that I want done (not need…want) and decided that some crown would be just the right fix to achieve the sophistication I was looking for.

This project is NOT as scary as it sounds. I know you might be thinking CROWN MOLDING..WHAT THE HECK!!! You probably think I have the mathematical acumen of Isaac Newton, but alas…I am not some sort of genius. I am just really smart and bought my self a cheat tool…yeah they make fool proof Jig’s for this kinda stuff. (not that I’m a fool…but you know what I mean). There are a tons of Crown Molding Jigs out there that can help simplify the process which is fairly complicated with the angled cuts and compound cuts, plus the angle of the crown molding, plus is the corner an inside angle or an outside angle, left or right side…ugh I’m sweating just thinking about it!
Seriously..the Jig pays for itself.
So to start..I want to share with you the ugly unique molding that came with the cabinets…so country 80’s chic!
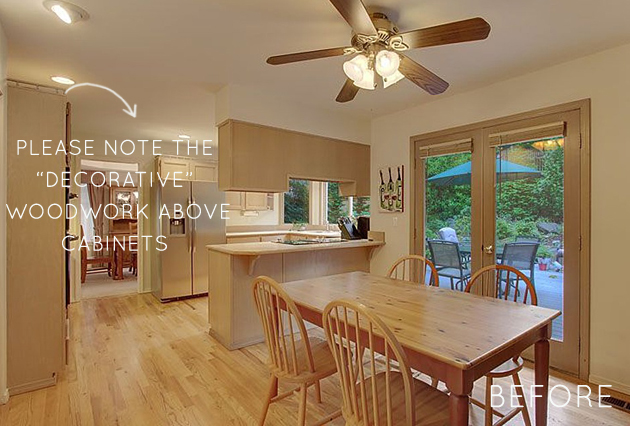
I sawed off the trim…and left the 1×1 strip of wood that was it’s mounting piece. I planned to add the molding in the future and leaving this piece on prevented the need for me to add it later.
(side note: Most cabinets need this 1×1 wood added when installing crown. This is where you nail in the molding)
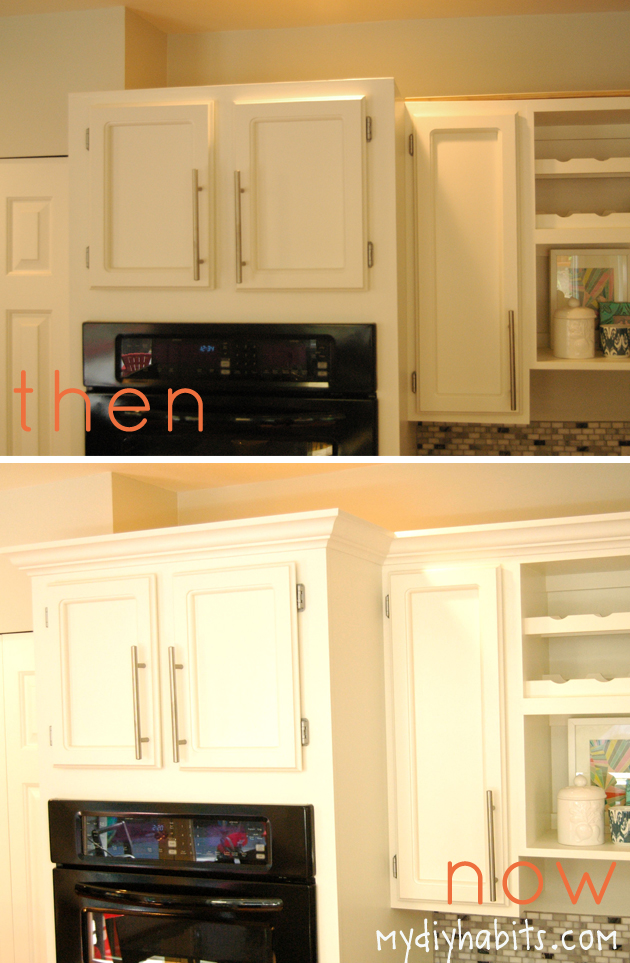
And here we have the before and afters.
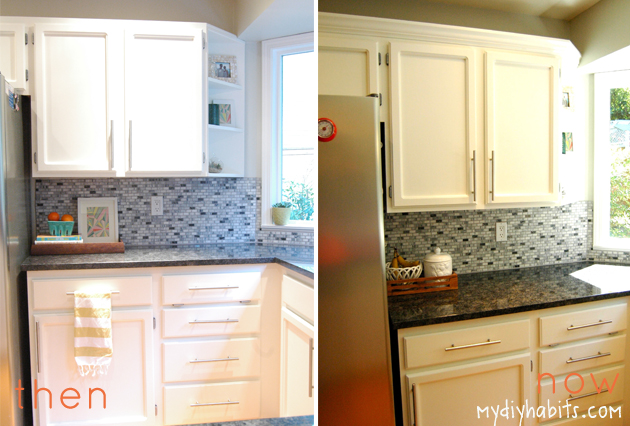
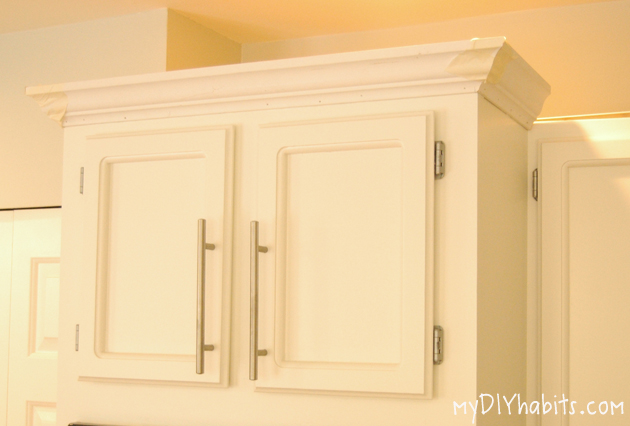
The molding just looks so much more sophisticated and custom. It adds drama and dimension too.
DIY Crown Molding Supplies and Price Breakdown
– 3 1/4″ Crown Molding (Home Depot has a poor selection in my area…so I went to a molding store) about $1.50/LFT – $50
– 1×1 Wood same length cuts as your crown molding (this stuff is cheap)
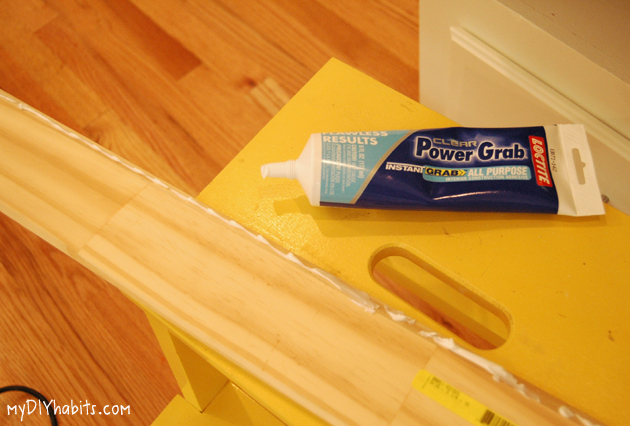
– Loctite Power Grab Construction adhesive – already owned
– Finishing Nails (I used 1 1/2″ for my 18 gauge nail gun
– Tape (already owned)
– Printable Wood Caulking Glue (already owned)
– Light Weight Spackle (already owned)
Total Project Cost – $50
Tools Needed:
– Pneumatic Nail Gun
– Kreg Crown Pro – if your geometrically challenged like me
– Mitre Saw
– Level
– Hammer
– Nail set
Adding Crown Molding How To (with a Kreg Jig):
Step 1) Draw a map of your cabinets and note:
– Desired Length of Molding
– Note Inside or Outside corner (outside is when the walls go away from you / inside is when they go towards you)
– Angle of Corners (most will be 90ish the Jig has an corner measuring tool)
Here is what my map looked like. Dividing the corners and labeling “Outside Left” or “Outside Right” helped me soo much when it came to the saw!
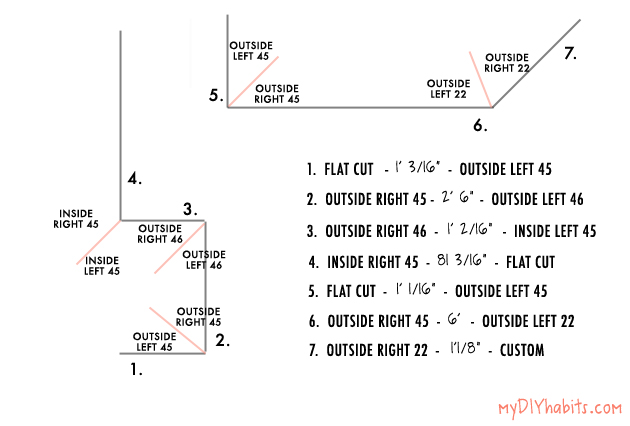
As you can see I have my cutting list above. Each number is a separate piece of wood and the sequence is the cuts needed if you were facing the cabinets/molding…does that make any sense!?
Step 2) Get to Cutting!

The Kreg does an amazing job of telling you exactly where to place the wood (you actually cut it upside down), where to place the jig (left or right of the saw) and which direction to adjust the saw (angled out or angled in).
Special Tip: the most decorative part of the crown is the bottom of the crown
Super special Tip: always cut slightly longer then your desired length and trim as needed
Step 3) Add Mounting Wood:
Some cabinets will need 1×1 wood nailed down into the top of the cabinets so you have a place to nail the molding into. I did not add this because there was a piece left over from the old molding.
Special Tip: Make sure to point the nail gun toward the wall or you just might get a nail right through your cabinet facing!
Step 4) Glue, Nail, Tape:
Once all my pieces were cut and I checked that they were all the right size.
I added adhesive and…
made sure they were level…
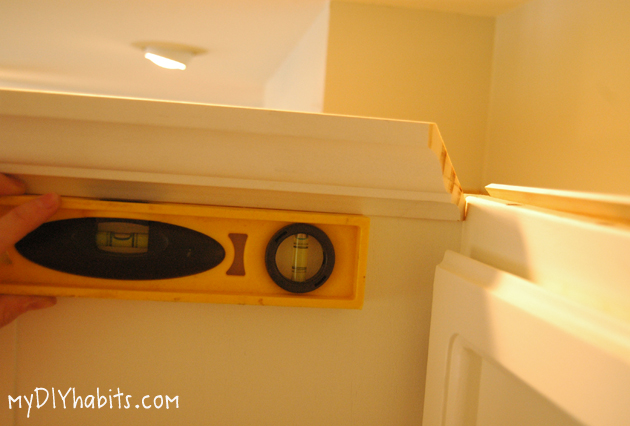
then nailed. You can see that the molding is not perfect just because it’s nailed in place.
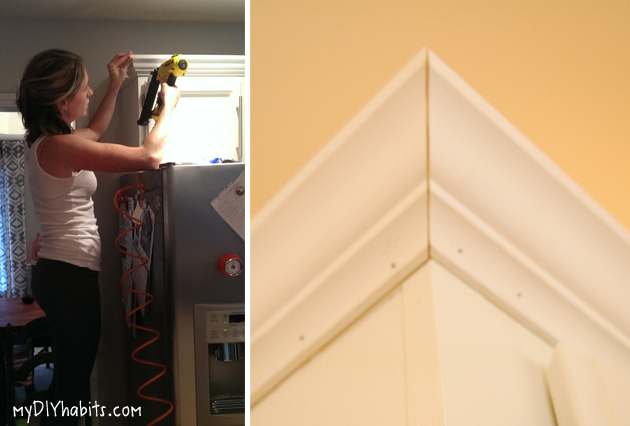
So hold firmly together and tape them once they are nailed. Then as the glue dries it will help them bond in the desired place. I also added construction adhesive the backsides of the corners to ensure they stayed in place.
Step 5) Finishing Touches
Give the glue some time to dry, like a few days. Then set your nail holes, fill with lightweight Spackle and Caulk all the seams. Once everything is dry PAINT!
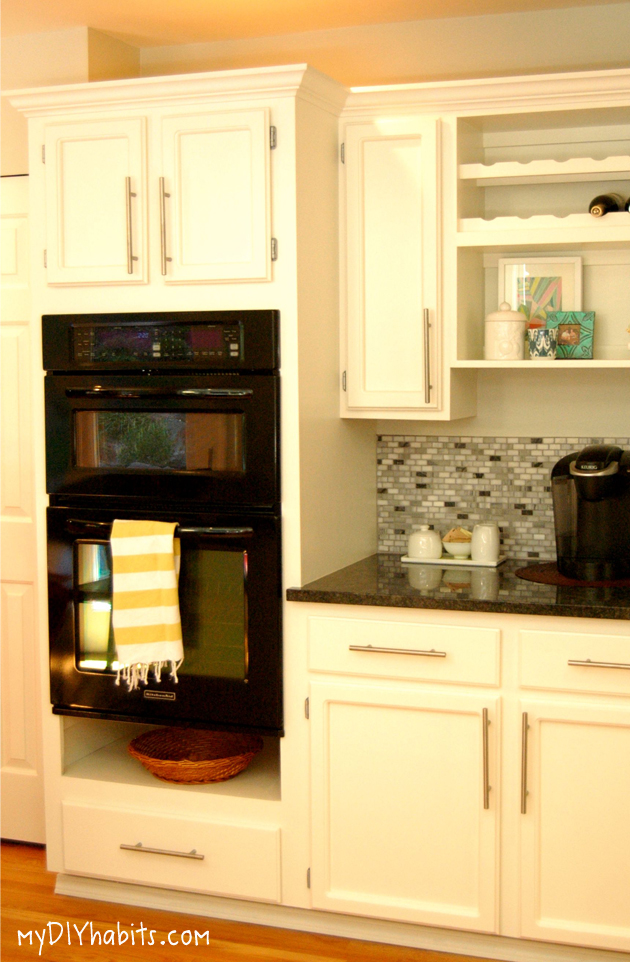
This project was easy enough to complete during nap time!
Crown Molding Project Time Breakdown:
30 minutes – Shopping
30 minutes – Measuring/drafting desired cuts
1 hour 30 minutes – Cutting
1 hour 30 minutes – Installing (this could be drastically reduced with more than 2 hands!)
1 hour – Finishing Touches
Total Time Spent under 5 hours
So hope you all like the new update as much as I do! The cabinets even look newer to me…gotta love DIY when you can makes 20 year old cabinets look fresh and new!
